 SAKER
SAKER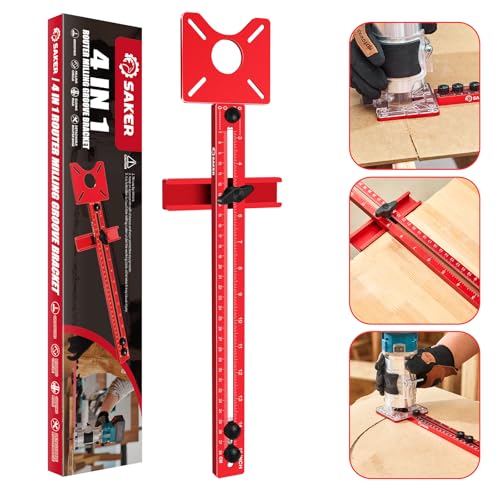
4-in-1 Router Milling Jig with Punch Guide
Circles and straight mortises need clean pivots, so we built this aluminum base to guide your palm router through sheet goods and hardwood boards.
$29.99
Thirty identical holes, drilled once. How the jig sets centers and edge distance, and the order that keeps a run of doors matching.
Anybody can mark one handle correctly with a tape and a square. A kitchen is not one handle. It is twenty five doors and drawers that all have to land in the same place relative to their own edges, and doing that by measurement means twenty five chances to be a sixteenth out.
The eye is very good at catching that. A single handle sitting slightly low reads as sloppy across the whole run, even to someone who cannot say what is wrong. A jig turns a measuring job into a positioning job, and positioning repeats.
The first setting is the hole spacing, the center to center distance your handle needs. Our 5 inch jig covers 2 1/2 through 5 inches in half inch steps, and the longer template carries on up to 6 1/2 for wide drawer pulls. The holes take a 4mm bit.
The second setting is edge distance, which is how far in from the door edge the whole pair sits. That one is adjusted at the nut in the middle, and it is the setting that decides whether a run of doors looks deliberate. Set it once and leave it alone for the entire kitchen.
Do all the doors first, then all the drawers, and inside each group work left to right without touching the jig. Every time the setting changes, you have started a new batch that has to agree with the last one by luck.
Test on the back of a spare door or an offcut of the same thickness before the first real hole. The jig is aluminum and holds its setting, but the setting is only right once you have seen a handle in it. Two minutes on scrap covers a mistake that would otherwise be drilled into a cabinet front.
Handles are seen from the front, so the front is the side that has to be clean. Drill from the face and any splintering happens on the inside where a screw head covers it. Clamp a scrap block behind the hole and there is usually nothing to cover.
Come out of the wood at speed with the drill still turning. Backing out slowly is what widens a hole and leaves the screw loose in a door that gets pulled a dozen times a day. The jig folds shut at the middle nut afterwards and lives in a drawer until the next room.
The habit that catches people out is treating a kitchen as one setting. Door handles are normally set in from the outer stile, vertically, near the corner away from the hinge. Drawer pulls are normally centered horizontally on the front. Those are two different references, and the jig has to be told which one it is doing.
Buy the handles before you drill anything, because the spacing your hardware needs decides the setting and there is no way to work backwards from a hole. A pull that measures 3 inches on the packaging is usually the hole spacing rather than the overall length, and confirming which is which on the first one costs nothing.
The screws in the handle packet are cut for an average door and yours might not be it. Too short and the handle never pulls up tight against the face. Too long and the thread stands proud on the inside of the door where it catches on everything that goes past.
Hold a screw against the edge of a door before the run starts and see where it lands. Thicker fronts often want a longer screw than the one supplied, and finding that out on door one is a trip to the hardware store. Finding it out on door twenty is the same trip with nineteen handles waiting.
One piece per family off the shelves this note covers, read from the catalog on 2026-09-10.
Circles and straight mortises need clean pivots, so we built this aluminum base to guide your palm router through sheet goods and hardwood boards.
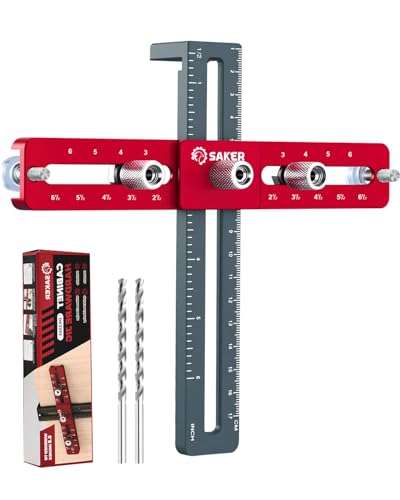
Set the center nut once, clamp the aluminum guide to the drawer face, and drill the handle holes where they belong without marking each front by hand.
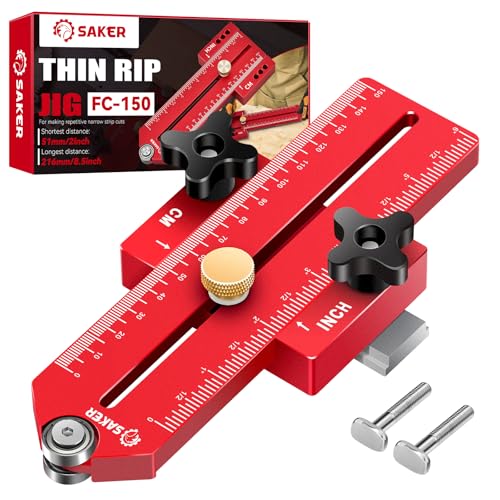
Stands in the miter slot to set repeated narrow cuts on the saw, keeping thin stock from binding between the blade and the fence.
The bar length on our mini chainsaw is not the limb thickness it handles. Here is where the line really falls, and what happens past it.
One number sets how hard a tool pulls, the other sets how long. Also the part most brands skip: our packs are not one family.
The tool that turns a door casing into a pencil line. How to press it, when to lock it, and which length to reach for.