 SAKER
SAKER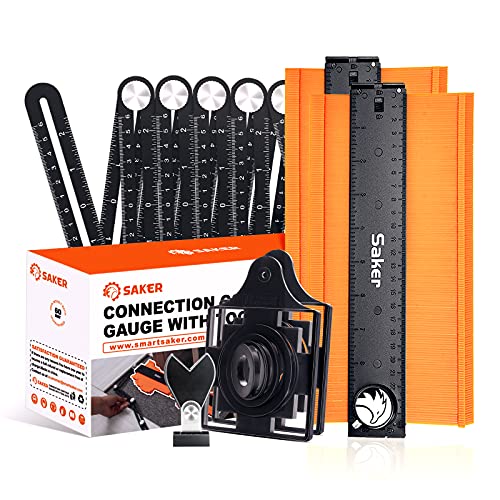
Contour Gauge Connection Package
Press the teeth against baseboard, pipes, or casing, lock the spine, and carry the outline directly to your board.
$89.99
The tool that turns a door casing into a pencil line. How to press it, when to lock it, and which length to reach for.
A contour gauge is a row of loose plastic pins in a spine. Push it against a shape and each pin slides back until it stops, so the row ends up holding the outline of whatever it touched. Tighten the lock and the pins stay put while you carry them over to the board and draw around them.
That is the entire idea, and it replaces the job most people do with a tape measure, a calculator and three attempts. Door casings, pipe collars, stair nosings, the curved leg of a radiator. Anything you would otherwise fit by cutting slightly large and shaving down.
The one thing that ruins a reading is coming in at an angle. Held square, each pin stops at the true depth of the shape. Held tilted, every pin stops short or long by a bit, and the outline that comes off the gauge is a shape that never existed.
Push straight in with even pressure across the whole spine, then check the profile against the object before you lock it. Ten seconds of looking beats a cut piece that is close but wrong at one end.
We build the gauge in a 5 inch and a 10 inch, and the small one gets underrated. Pipe collars, single moldings and most tile notches live well inside 5 inches, and a shorter spine is easier to press square in a tight corner.
The 10 inch earns its place on wide casings and stair treads. Past that there is a linkable version that joins end to end, so a full doorway or a bullnose step comes off in one reading instead of two that have to be matched up by eye on the board.
The mistake we hear about most is a good reading lost on the walk to the bench. The lock holds the pins, but a gauge dropped in a tool bag or set face down on a stack of offcuts will nudge a few of them, and nobody notices until the cut is already wrong.
Draw the line first, cut second. Pencil the outline onto the material as soon as the gauge comes off the shape, and the reading is now on the board where nothing can shift it. Then the gauge is available for the next opening.
A copied profile looks symmetrical far more often than it is, and a gauge flipped end for end on the way to the board produces a piece that is a perfect mirror of the one you needed. It fits nowhere and the error is invisible until the flooring is down to the last plank.
Put a pencil dot on the end of the spine that faced the wall and draw with that dot in the same orientation. It is a one second habit that has saved us more offcuts than any measuring technique on this page.
The gauge wins where the shape is complicated and the material is easy to cut. Laminate around a door casing, vinyl around a toilet flange, tile against a curved baseboard. All the geometry gets solved in one press, and a jigsaw does the rest.
It is the wrong tool for a long straight run that is simply out of square, because pins only cover their own width and you would be reading the same wall twenty times. Scribing with a compass handles that in one pass. Reach for the gauge when the shape is fussy, not when the wall is merely crooked.
One piece per family off the shelves this note covers, read from the catalog on 2026-09-10.
Press the teeth against baseboard, pipes, or casing, lock the spine, and carry the outline directly to your board.
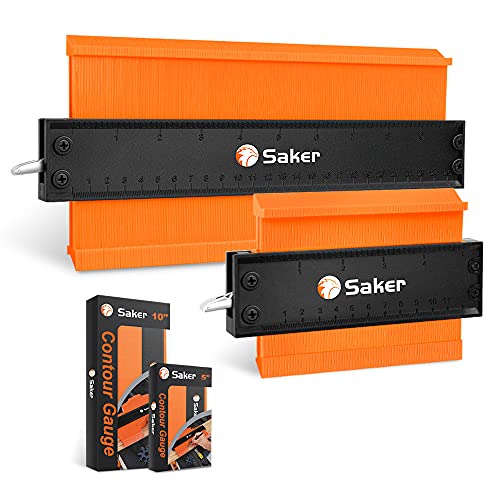
Two gauges in two lengths to press against baseboard trim, copper supply lines, or wheel arches and transfer the line to your stock.
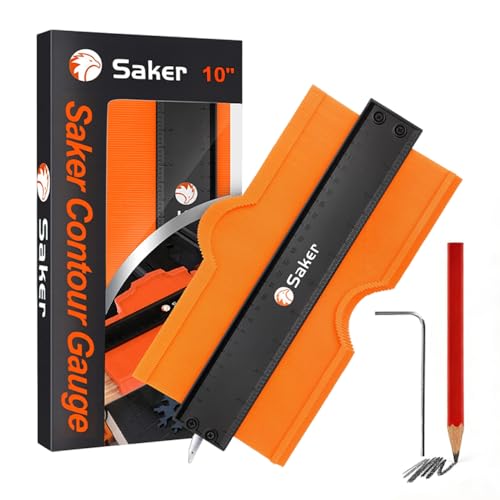
A row of flat plastic teeth that presses against door casings, pipe curves, and uneven baseboards to lock the profile for a pencil trace.
The bar length on our mini chainsaw is not the limb thickness it handles. Here is where the line really falls, and what happens past it.
One number sets how hard a tool pulls, the other sets how long. Also the part most brands skip: our packs are not one family.
A dull chain makes dust instead of chips and asks you to push. What the angles mean, and why touching up beats grinding.